5. The Role of Binders, Eggs, and Milk in Creating (or Reducing) Foam
Binders like breadcrumbs, eggs, and milk are often used in meatloaf recipes to improve texture and flavor. They can also influence foam production. Eggs, for example, add additional proteins to the mixture, which can contribute to foam formation. However, they also help bind the meat together, potentially reducing the amount of protein that separates.
Milk, on the other hand, adds moisture and can help create a tender meatloaf. It can also dilute the concentration of proteins and fats, which might reduce the foam. Using binders correctly can help manage the texture and appearance of your meatloaf, minimizing foam while maintaining a moist, delicious result.
6. Why Baking Temperature and Pan Choice Matter
The temperature at which you bake your meatloaf can impact the amount of foam that forms. Higher temperatures can cause proteins and fats to react more rapidly, potentially increasing foam formation. Cooking at a moderate temperature, around 350°F (175°C), is generally recommended to allow the meat to cook evenly and reduce excessive foaming.
The choice of pan can also make a difference. A loaf pan with high sides may contain the foam, while a baking sheet allows it to spread out. Using a pan with a rack can help by allowing excess fat to drip away, reducing the amount available to mix with proteins and form foam.
7. Simple Prep Tricks to Minimize White Foam Before Baking
One effective method to reduce foam is to pre-cook the meat slightly before forming the loaf. Sautéing the ground meat briefly can help render some of the fat and denature proteins before baking, reducing foam.
Another trick is to mix your ingredients gently. Over-mixing can introduce air and further expose proteins, leading to more foam. Combining the ingredients just until they are incorporated can help maintain a tighter meatloaf structure, with less chance for proteins and fats to separate.
8. Smart Cooking Techniques to Keep Meatloaf Juicy Without the Foam
Cooking your meatloaf in a water bath can help maintain moisture and reduce foam. By placing the loaf pan in a larger pan filled with water, you create a humid cooking environment that prevents the meat from drying out, which can also minimize foam formation.
Another technique is to cover the meatloaf with foil for the first part of cooking. This traps moisture and heat, helping cook the meat evenly and gently, which can reduce the separation of proteins and fats that leads to foam.
9. What to Do If You See a Lot of White Foam in the Oven
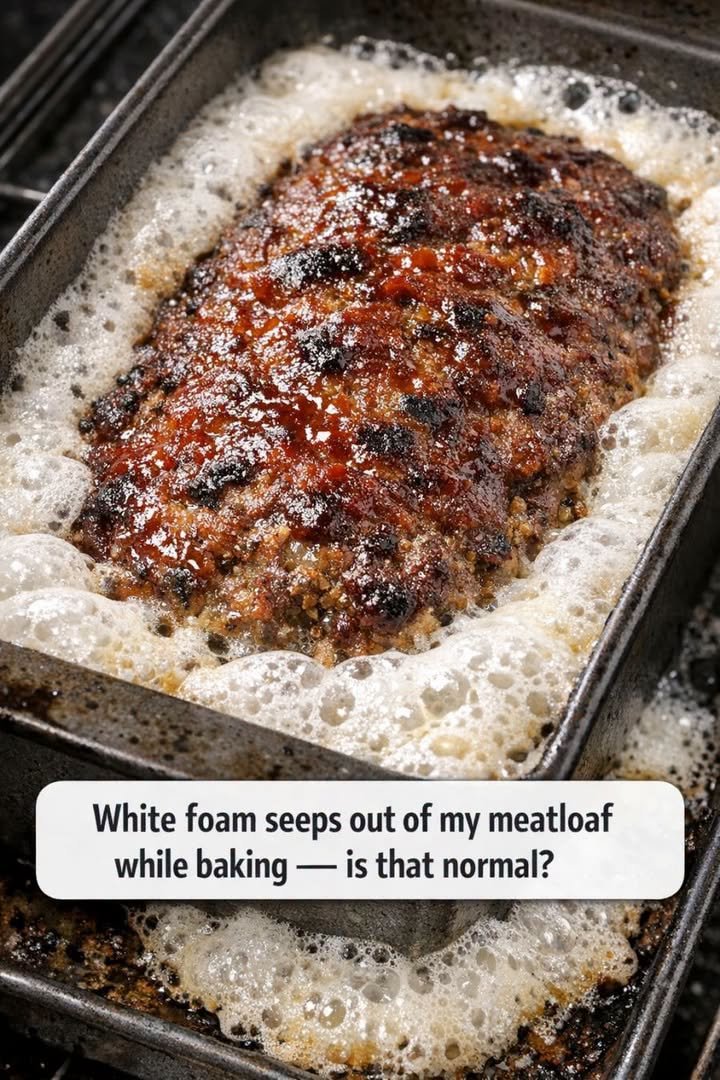
If you notice a significant amount of white foam during baking, don’t panic. You can carefully skim it off using a spoon or baster. This won’t affect the taste of the meatloaf and can significantly improve its appearance.
If the foam is excessive, it might be a sign of too much fat in the meat blend. Consider draining some of the liquid from the pan partway through cooking to help manage the foam and prevent it from affecting the final texture of the meatloaf.
10. When White Foam Might Signal a Real Problem
While white foam is generally harmless, there are rare cases where it might indicate a problem. If the foam is accompanied by a sour or off-putting smell, it could be a sign of spoilage. Always check the freshness of your ingredients before cooking.
Additionally, if the foam is discolored, particularly if it’s green or blue, it might indicate contamination or the presence of certain bacteria. In such cases, it’s best to err on the side of caution and avoid consuming the meatloaf.
11. How to Get Picture-Perfect Slices Without the Unappetizing Film
To achieve beautiful slices of meatloaf without any film, allow the meatloaf to rest after baking. This resting period lets the juices redistribute and the foam settle, making it easier to slice cleanly.
Using a sharp, serrated knife can also help achieve clean cuts, minimizing tearing or crumbling. Wiping the knife between slices can further ensure that each piece looks as appealing as possible, free from any residue or foam remnants.
For Complete Cooking STEPS Please Head On Over To Next Page Or Open button (>)